- Published on
Be An AI4Science Developer (1)
🎯 Introduction
Some of the most highly cited AI4Science work all come with their open source package. You may be wondering how can you be like those authors and develop your own model that is used and appreciated by the community? Worry no more. In this article, let us dive into creating an AI4Science package and distribute it. This blog is a "biased" tutorial of showing how I create packages for AI4Science.
Table of Contents
👩💻 Preparation
Start with a suitable IDE, I will use vscode in this blog for its flexibility.
- Install
python3viaminiconda
mkdir -p ~/miniconda3
curl https://repo.anaconda.com/miniconda/Miniconda3-latest-MacOSX-arm64.sh -o ~/miniconda3/miniconda.sh
bash ~/miniconda3/miniconda.sh -b -u -p ~/miniconda3
rm -rf ~/miniconda3/miniconda.sh
This is an example for MacOSX. For other operating system, please refer to miniconda website.
- Install
poetryfor package management
curl -sSL https://install.python-poetry.org | python3 -
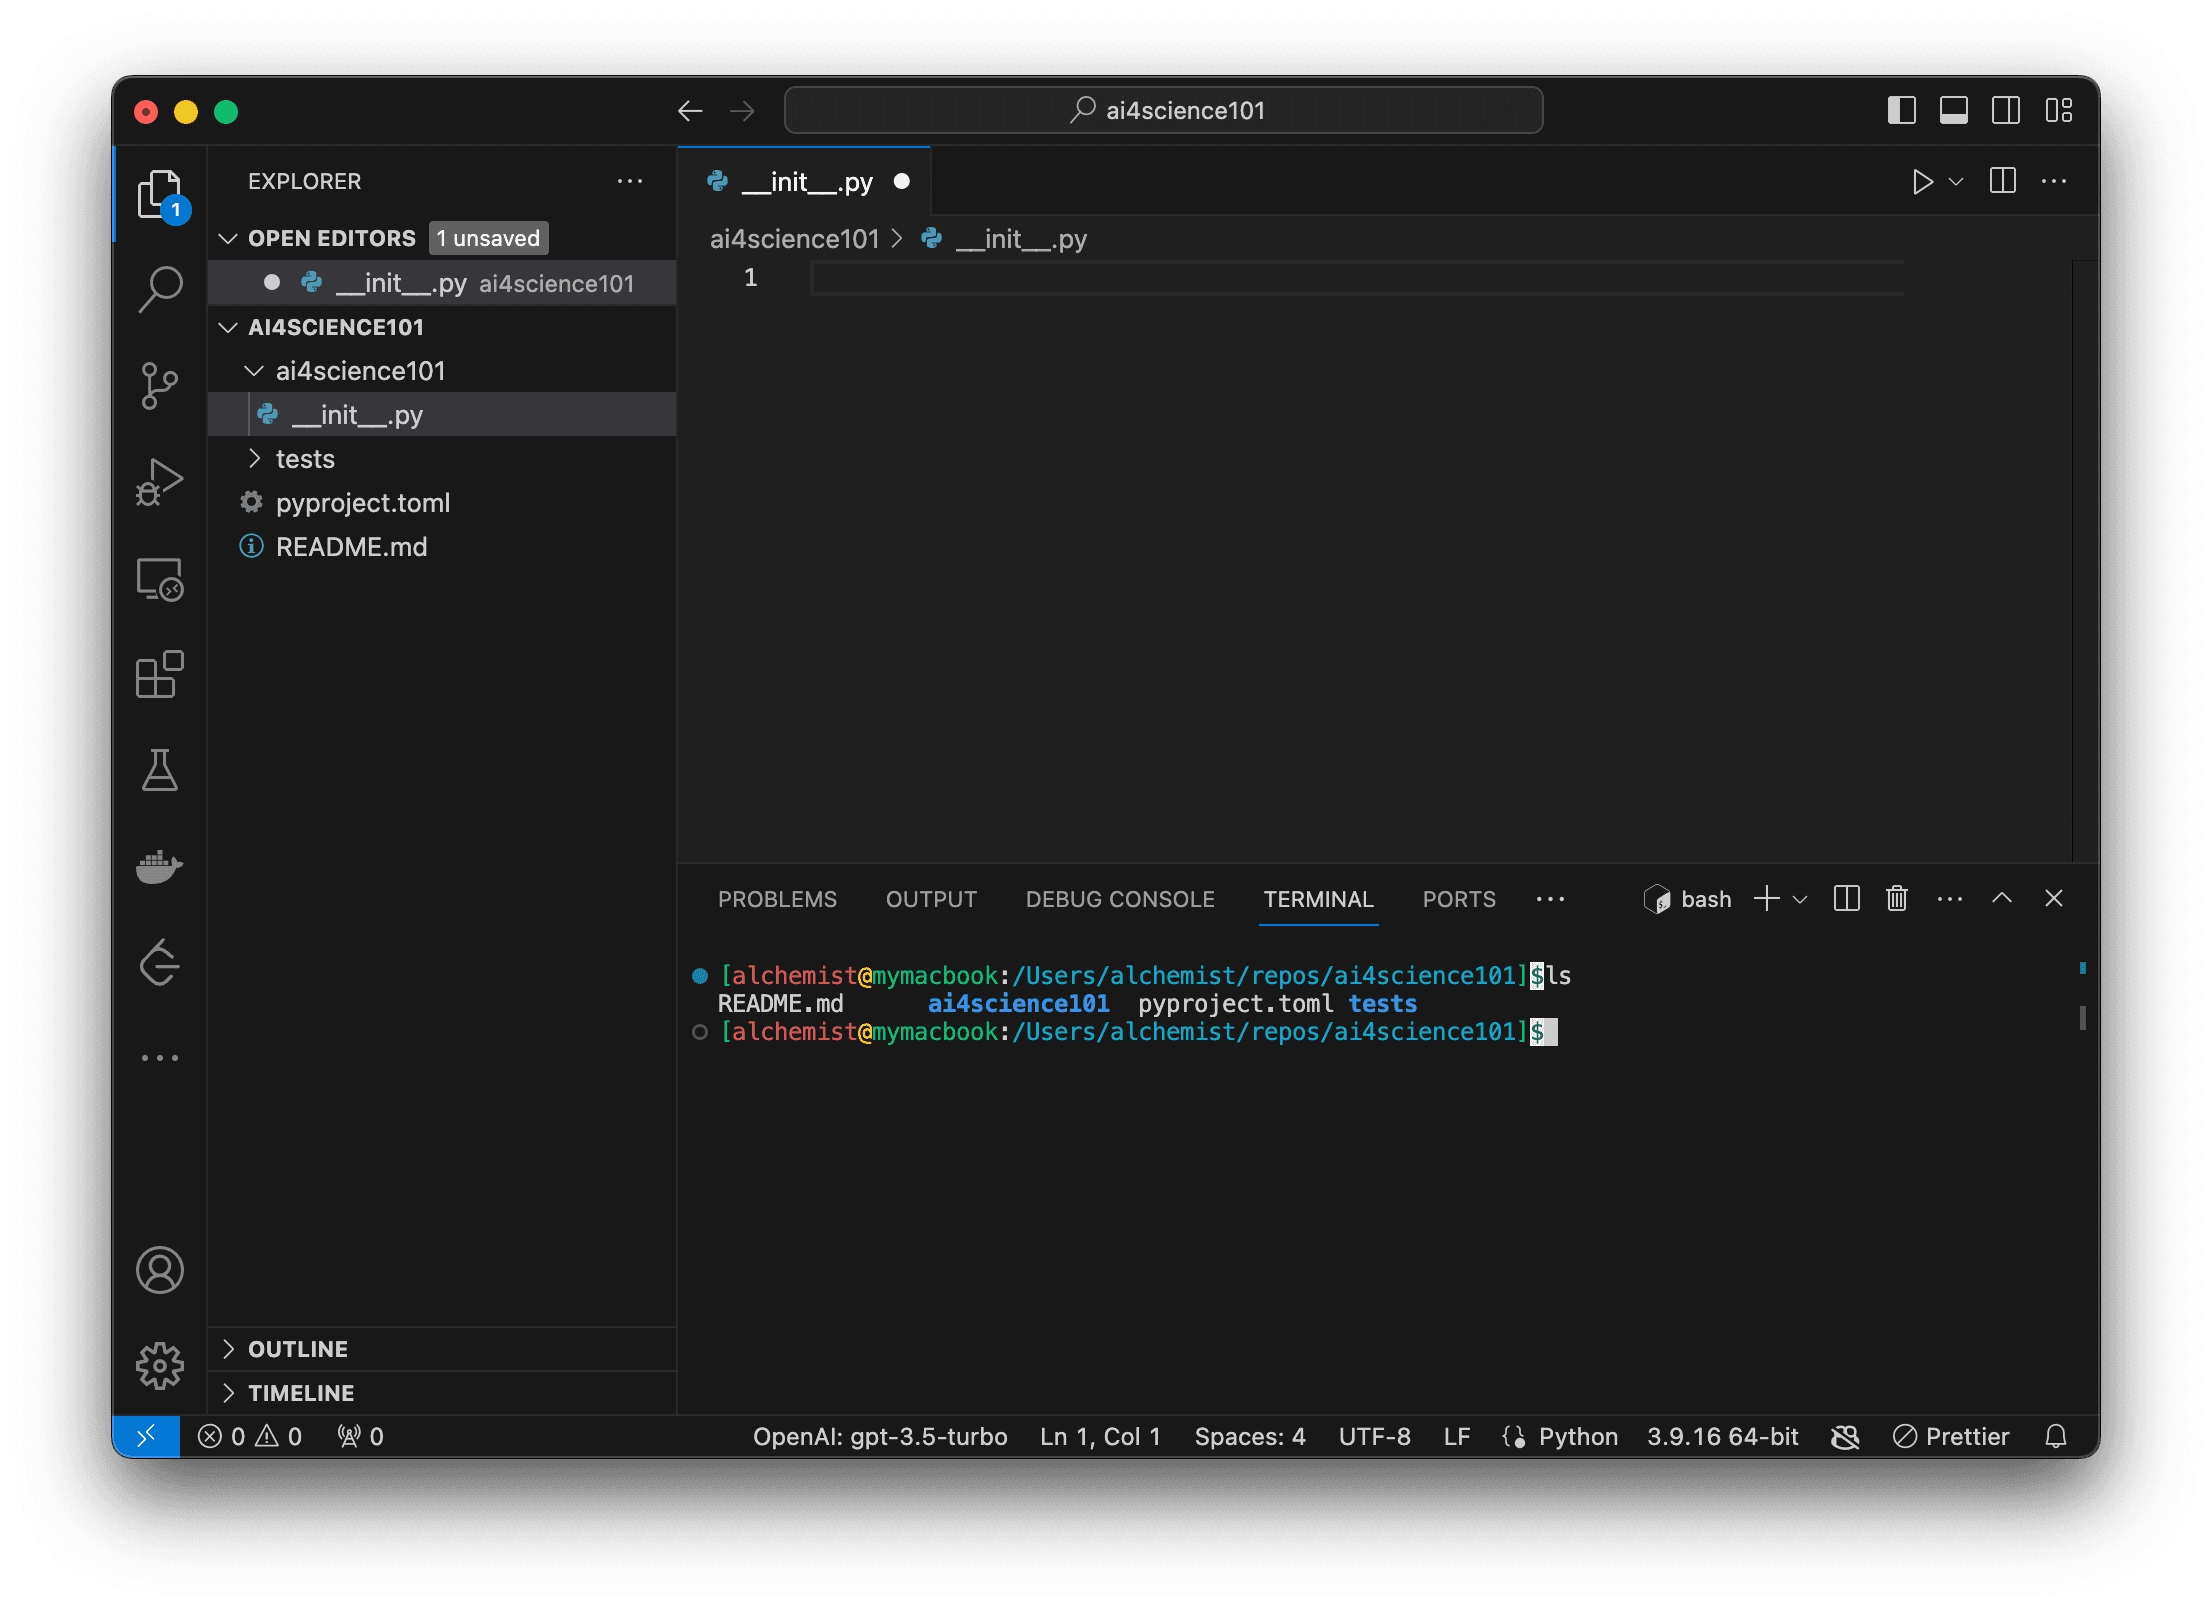
🌟 Develop the package
In the command line, go to the folder you want to create the package and then use poetry new to start a project
cd ~/repos/  # go to this folder
poetry new ai4science101
This will create an ai4science101 folder, which contains the initial skeleton of the package. You will see the following folder structure
Almost all packages use other package or libraries. You can add a package dependency using poetry add. For example to add torch as a dependency package, do
poetry add torch
After printing some installation info, you can check pyproject.toml and see that torch = "^2.1.0" is already in the dependencies list. The specific version of the package will vary, depending on the latest version. The pyproject.toml file, which contains the information about the package you are creating, should have similar structure as below.
pyproject.toml
[tool.poetry]
name = "ai4science101"
version = "0.1.0"
description = ""
authors = ["ai4science.school@gmail.com"]
readme = "README.md"

[tool.poetry.dependencies]
python = "^3.9"
torch = "^2.1.0"


[build-system]
requires = ["poetry-core"]
build-backend = "poetry.core.masonry.api"
Similarly other dependency packages can also be added.
So far, you have the following folders and files
ai4sciencefolder. This is where you main package implementation lives. You can create modules in this folder. For example a neural network module can beai4science/nn.py, a descriptor calculation module can beai4science/descriptor.py. When using those modules, you need to import them usingfrom ai4science.nn import xxxto import classes or methods in thennmodule.README.md. It is a markdown file that is useful if you want to write introduction and instructions about your package.testsfolder. This is where you put your tests. For exampletests/test_nn.pycan be tests functions and classes for thennmodule.
😀 Install your package
The package can be installed via
poetry install
After the installation, you can try to import your package via
import ai4science101
# or import certain methods or classes from a submodule
from ai4science101.nn import GCN
🦾 Push the package to a github repository
Now you already know the skeleton of the package, and it is time to add version control and share it to the world. Of course it is not a finished package. We will build it gradually, and maybe we can get some help from other contributors if the package is out in the open space.
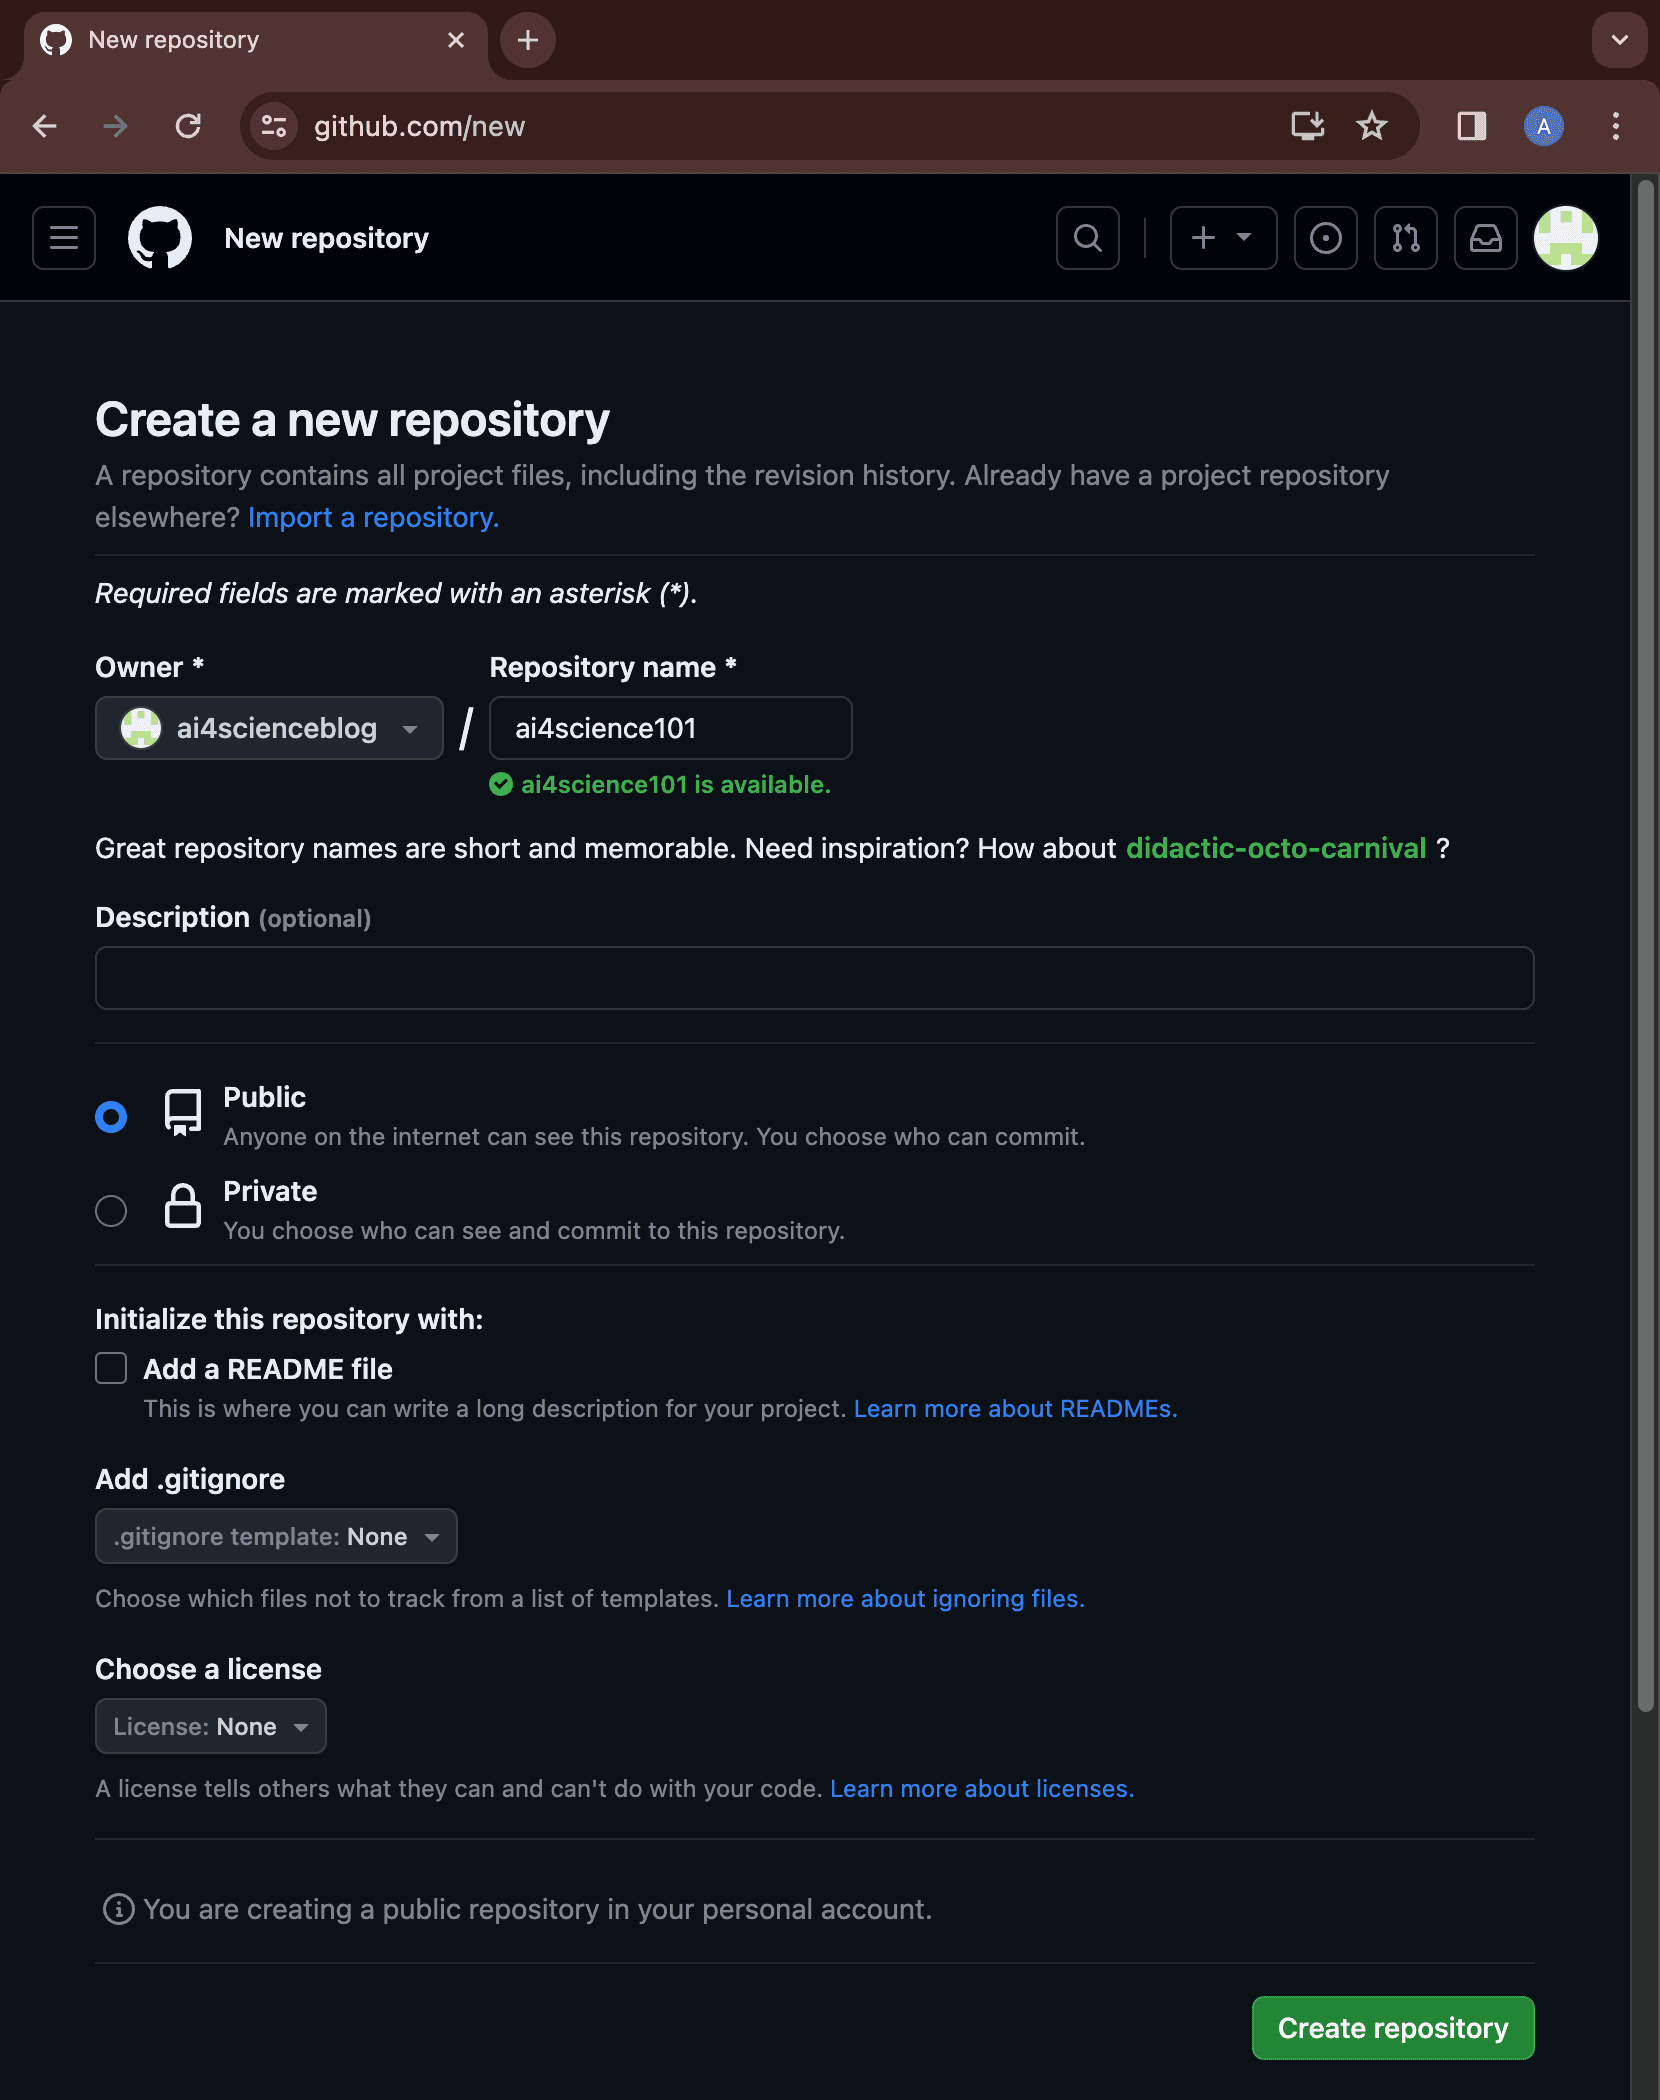
- On github, create a repository. You will see something like the following. Fill in the name and then click
Create repository
- Push the code to repo
cd ~/repos/ai4science
git init  # need to initialize the code to a git repo
git remote add origin git@github.com:{your_account}/ai4science101.git  # add github repo as a remote, remember replace the `your_account`

# Add the local content
git add -A
git commit -m "init"

# Push the code up!
git push -u origin main
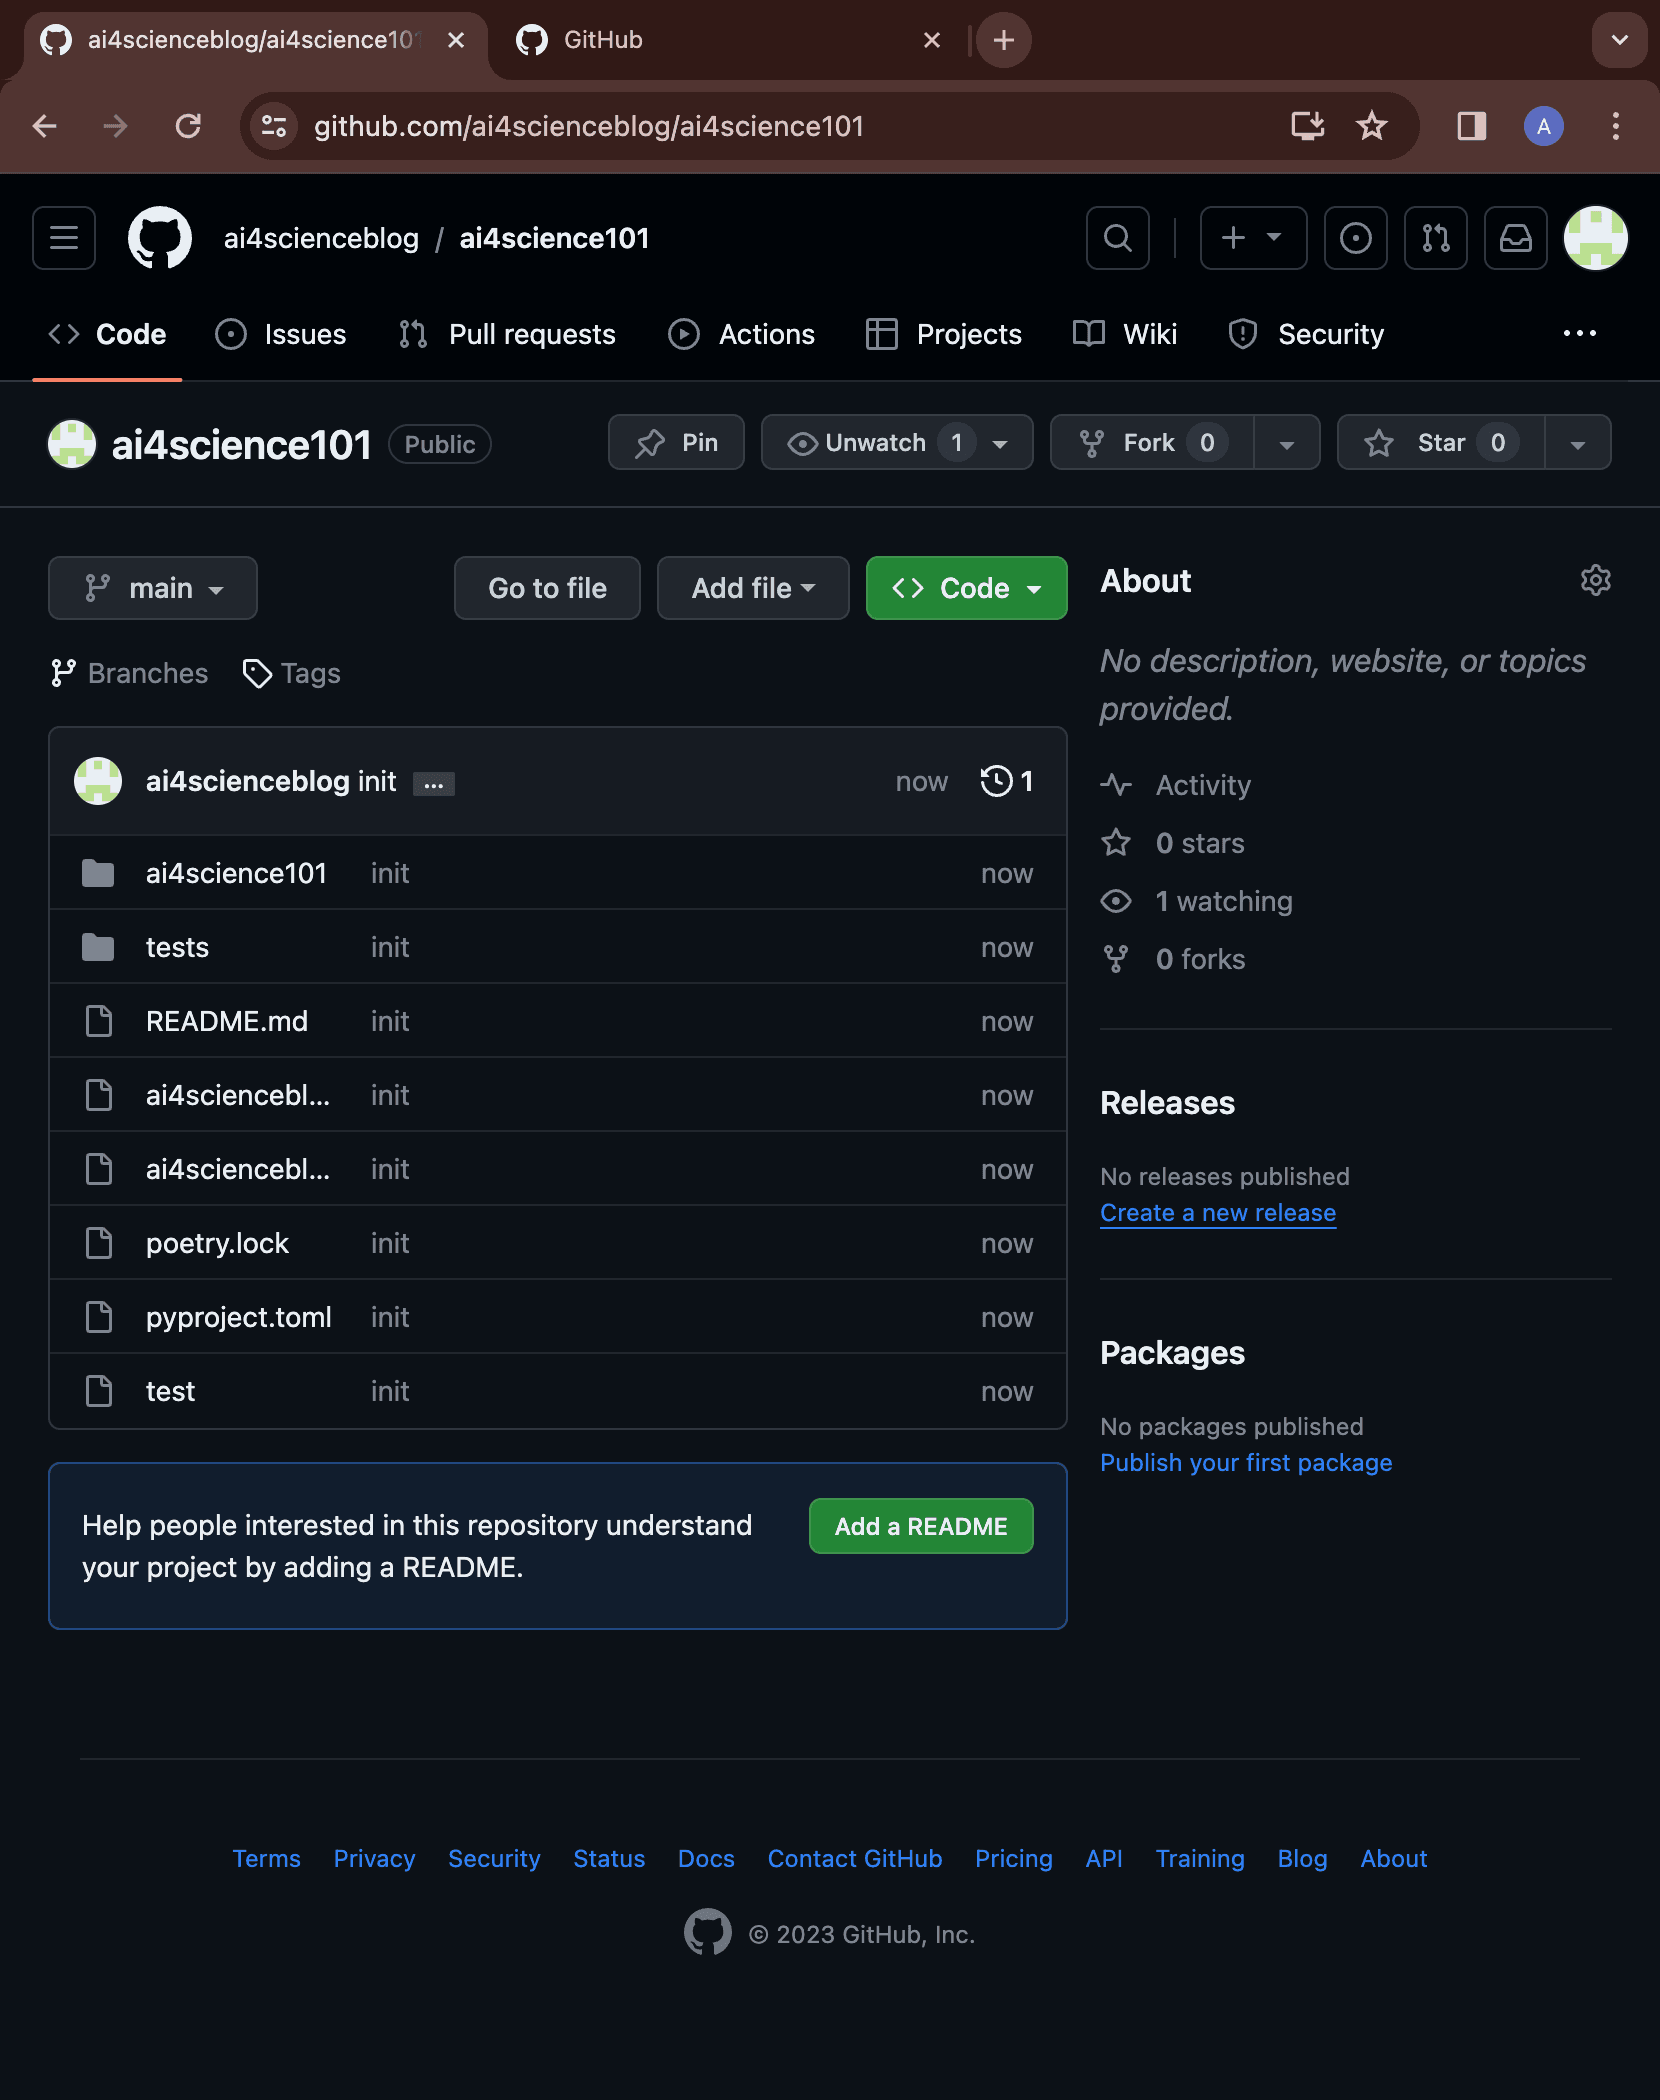
After the code push, you will see the page of the repo has changed
😬 Final words
Congrats, you have successfully created a repo. Hopefully you will use this as a start and build amazing tools. We will add more to the repo in the future tutorials.